Banana Music with the Microbit
Elementary Music (Microbit)

In this activity, we will measure the resistance across a banana peel and use it to play a note on the Micro:bit.
Activity
As a banana peel dries out, it loses moisture that conducts electrical current and its resistance increases. We can measure the resulting voltage drop across the banana peel with allegator clips; the farther apart the allegator clips are along the banana, the greater the drop in voltage. This is represented with a number. We can use that number to compute the frequency of a note to play, and "play" a banana peel like a piano.
Getting Started
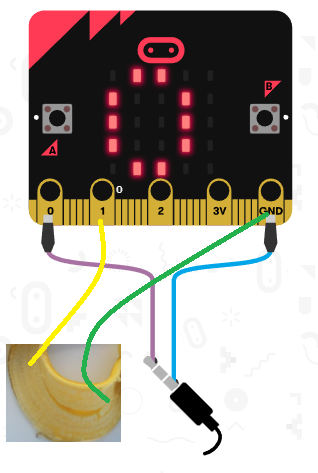
First, we’ll need two pieces of equipment for this project: a speaker or set of headphones, and 4 allegator clips to connect them and the banana to the Micro:bit. We’ll connect one allegator clip to P0, and connect the other end to the tip of the headphone jack for the spaeker. Another clip will connect ground (GND) to the bottom or back of the headphone jack. The other 2 allegator clips will go on the banana. Connect one end to ground (leaving the other end disconnected), and one end of the other to P1 (again, leaving the other end disconnected). This is all shown in the figure below, adapted from the Micro:bit MakeCode interface.
Programming the Micro:bit
To program the Micro:bit, we’ll use a every N ms block. That’s all we’ll need! Let’s run every second (or 1000 milliseconds).
Within this block, set a variable called current to the value of analog read pin P1. That is the current or voltage drop or resistance across the allegator clips going from P1 to ground. You can put one of the loose allegator clip ends on one end of the "wet side" of banana peel, and the other loose allegator clip end on the other end of the "wet side" of banana peel to provide this value. When you move one of the allegator clips closer to the other, the value on P1 will change, and we’ll use this to decide which note to play.
Playing a Note
The value of P1 is a number between 0 and 1023, on an arbitrary scale. Let’s convert it to a number between 0 and 3, representing the maximum 3 volts powering the Micro:bit. We can set the current variable to a map of current from a low of 0 and a high of 1023, to a low of 0 and a high of 3.
Next, let’s play a note. The play tone step can do this. We’ll play for 1 beat, although you can choose any duration you like for longer or shorter notes! Now, what note should we provide? Our ear picks up musical notes based on the frequency with which mechanical vibrations (like from plucking a guitar string) resonate in our ear. Faster vibrations means a higher pitched sound. We’ll play a frequency between 137 Hz and 988 Hz. If we suppose that there are 36 possible notes that we can play, and each note is evenly spaced apart, we’d have \(\frac{988-137}{36} = 23.6389\) Hz per note.
So, let’s map the current variable to a scale of a low of 0 and a high of 36, multiply that value by 23.6389, and add 137, which will put our sound between 137 and \(137 + (36 \times 23.6389 = 851) = 988\). For now, you can map it from its original value of 0 to 3, but you might find that it doesn’t always read 0 Volts or 3 Volts, which would mean that some notes wouldn’t be possible on your banana. Every banana is different, depending on how much moisture is left within the banana and how big it is, so some trial and error is needed here.
I displayed the number current on the LED display, and poked around the banana with my allegator clips, and found that the voltage reading was really between 0.1 and 0.25. So, I mapped from a low of 0.1 and a high of 0.25 to a low of 0 and a high of 36. You can play with this a bit for your own preferences!
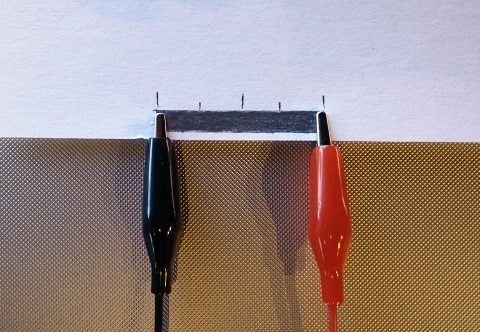
Optional: Using Graphite as a Resistor
Graphite from a pencil also makes a fine resistor! In fact, this might even be more consistent than a banana. This article describes how to make a pencil resistor where your allegator clips can go, and here is an image from that article describing how to draw one:
The sound might be a little loud and have a bit of static noise depending on how tight the allegator clips are connected, so hold them away from your ears when you connect everything up.
A Few Improvements
Only Playing Notes When They Change
I found it a little audibly annoying to play notes consistently, so I added a second variable called prior that I set equal to the value of current at the end of the block. Then, I added an if statement before playing the note that checks if the absolute value of current minus prior changes by some amount (I used 0.01). I’d only play the note if this value has changed. That way, the note plays when I move the allegator clips, but not while it’s standing still.
Restricting the Variable Value
I wanted current to be a value between 0 and 36. The map step does this, but it doesn’t promise that values outside of the original range won’t be larger than 36 or smaller than 0. To get around this, I set current to the min of the value of current and 36. This way, if current is greater than 36, it will just be capped at 36.
How would you do the same behavior to ensure that current is always greater than 0 (hint: it will use the max function!).
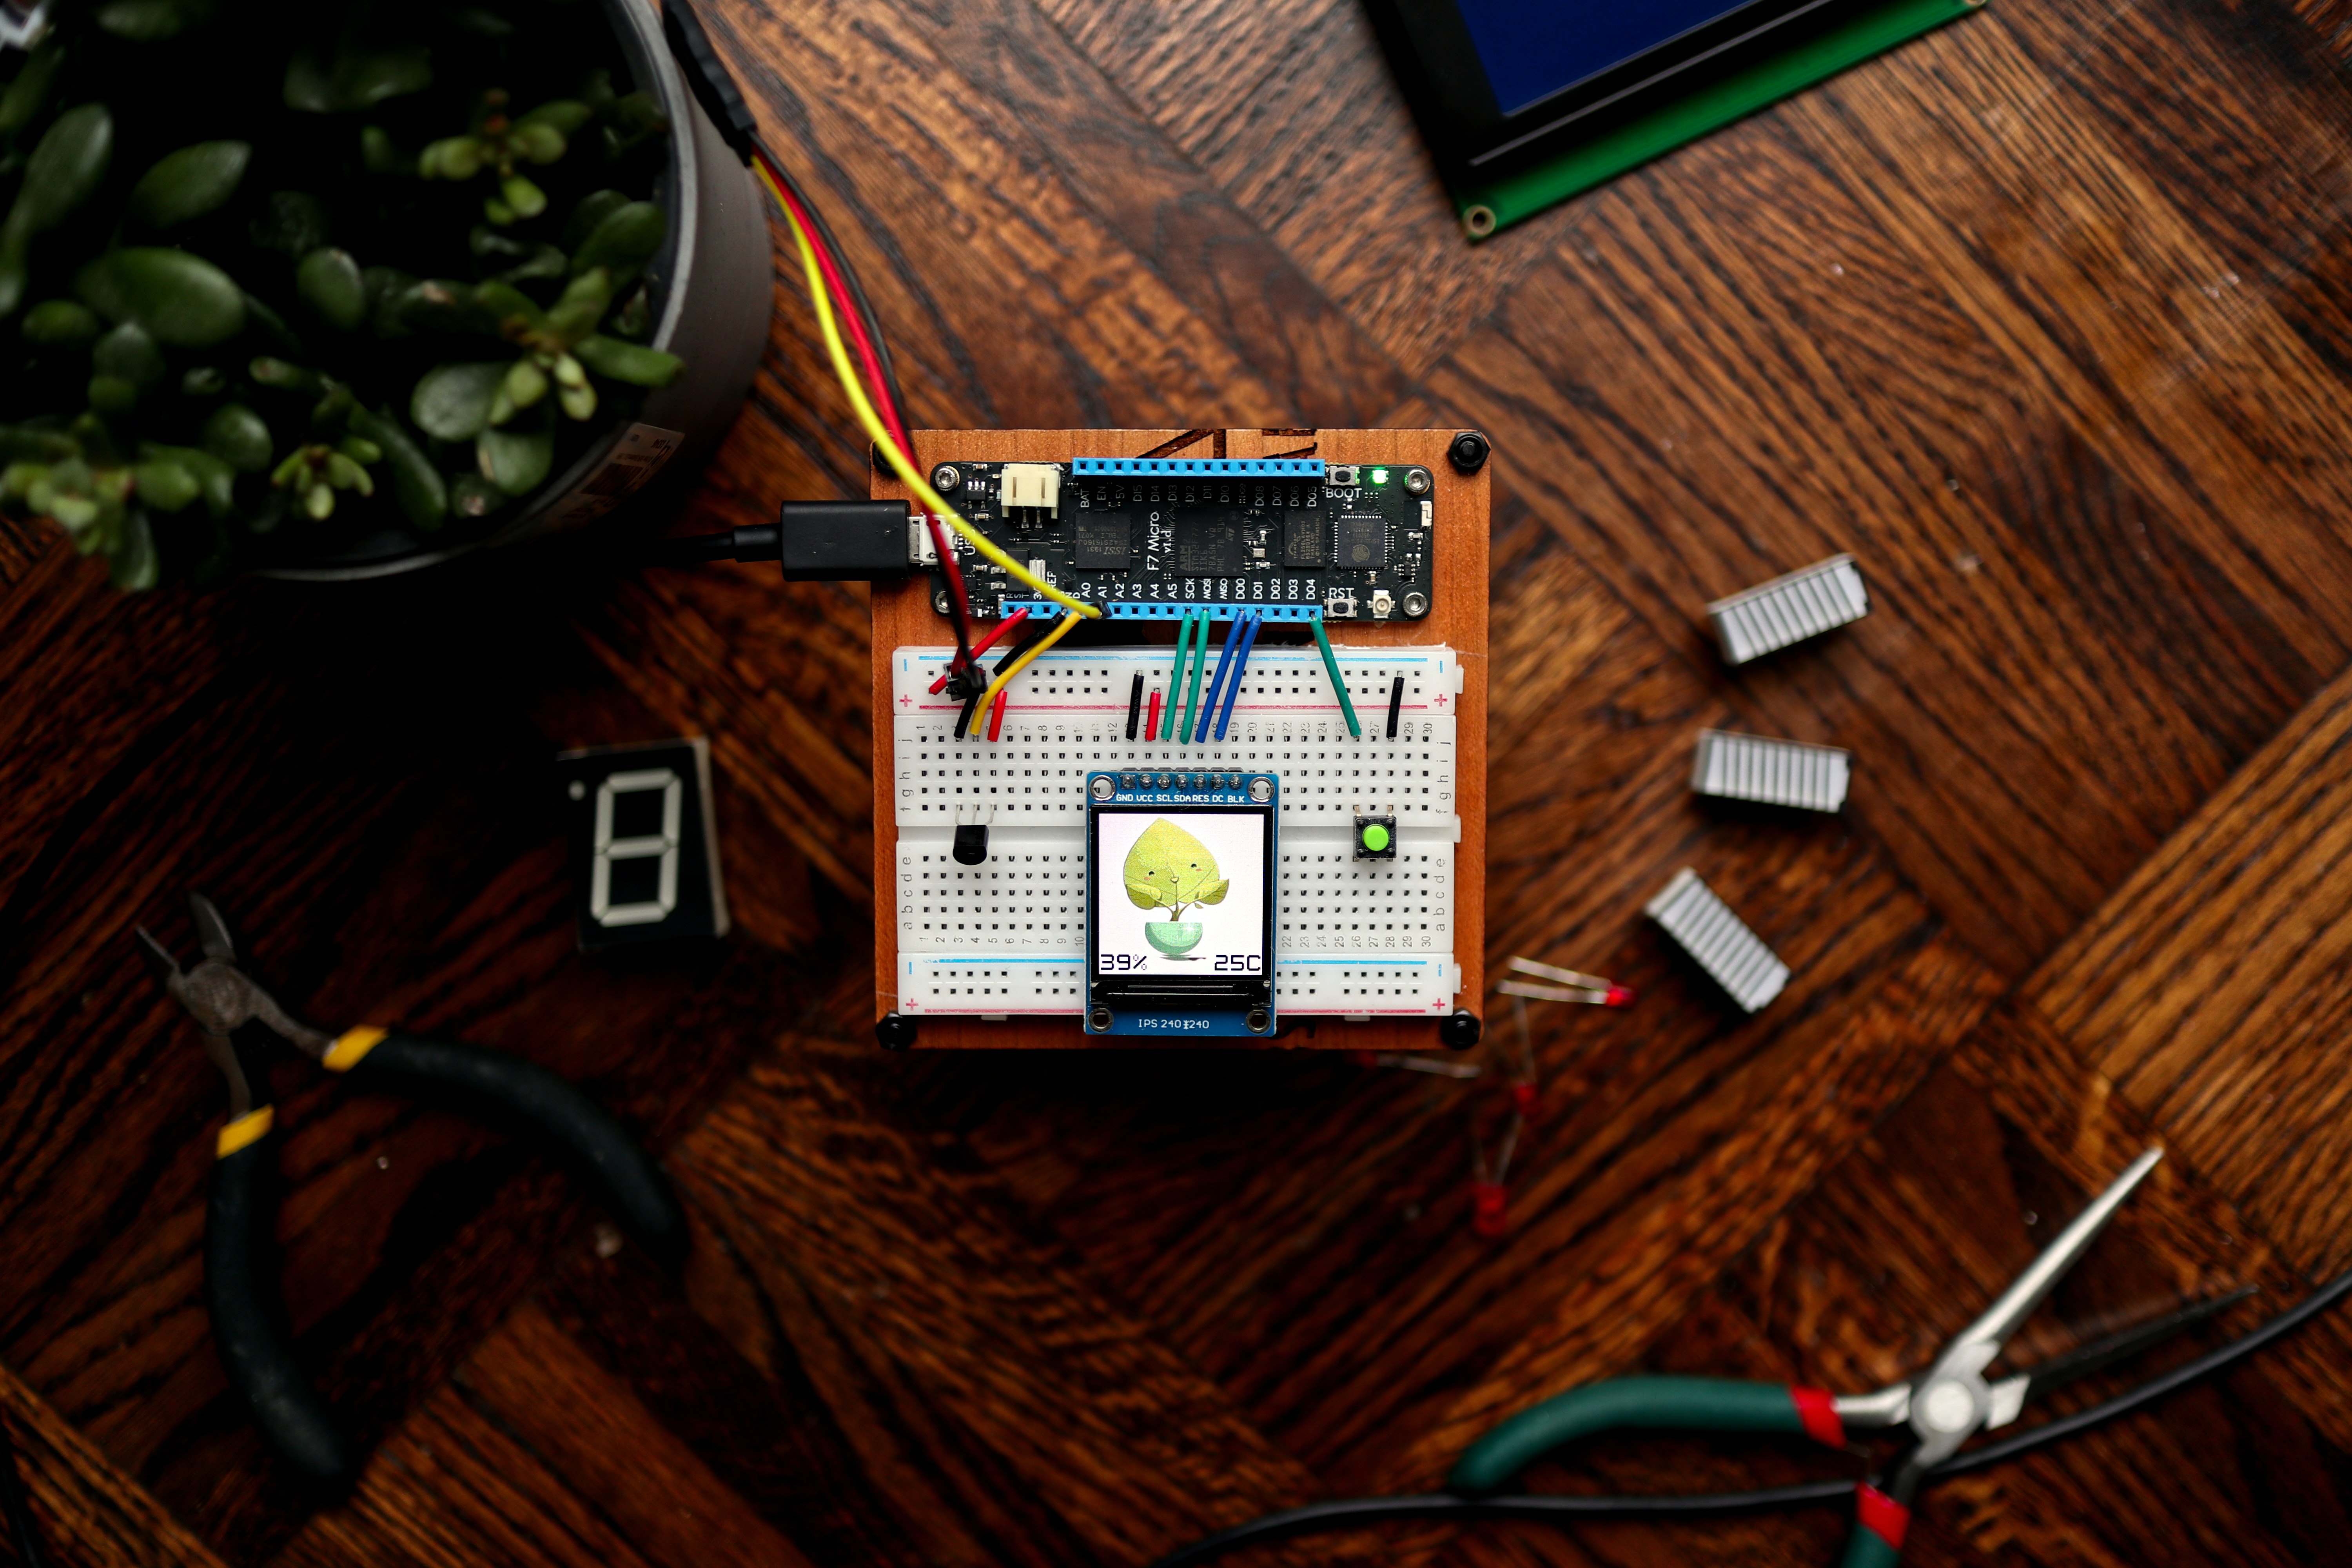
The Finished Project
Here’s my finished product, available at https://www.billmongan.com/banana-music/:

Follow-Up
More Notes?
How might you change this program to allow for 18 notes instead of 36? What values would change in your program?
A Musical Connection
How might you show which note actually played? Look up a table of note frequencies, and display the frequency actually played. Using an array, you could create a table of notes and frequencies, and choose the true note closest to a particular frequency!