Hide-and-Seek with the Microbit
Secondary Computing (Microbit)

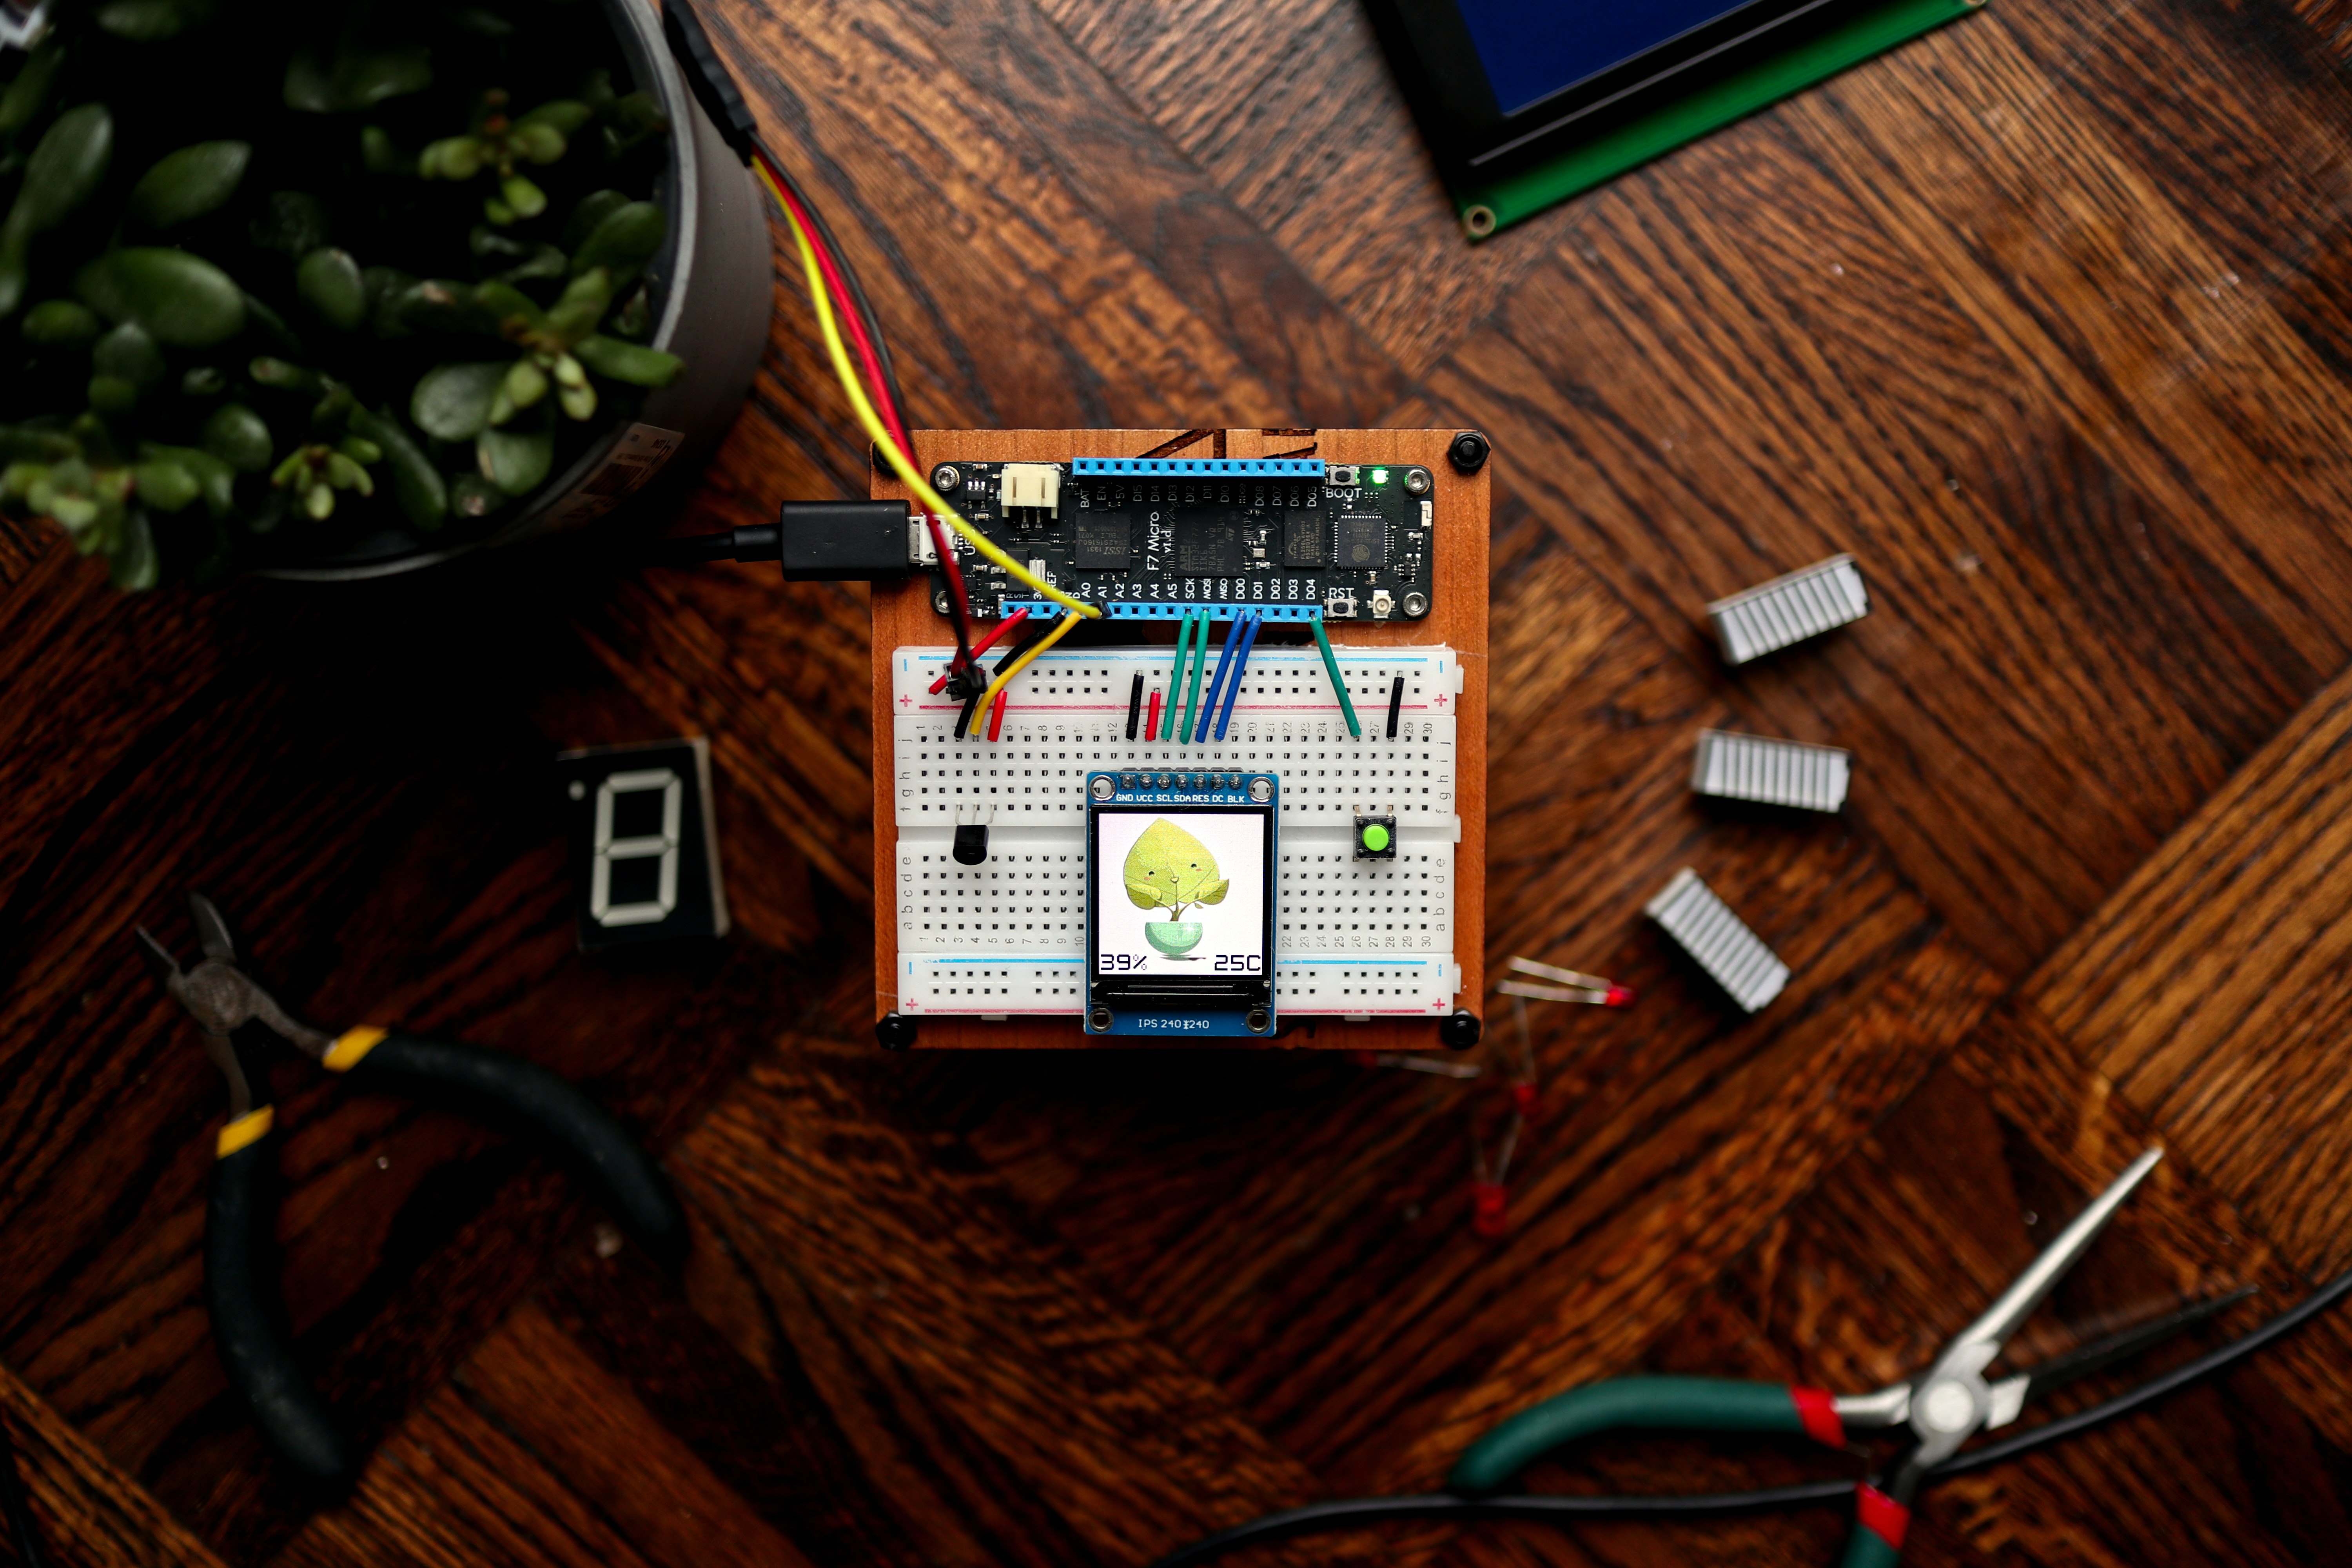
In this activity, we will use the Bluetooth radio of the micro:bit to estimate the distance between two micro:bits by measuring the strength of the radio signal, and play a game of hide-and-seek.
Activity
If you’ve ever lost your backpack, glasses, or other items, you might be aware of tools designed to help find those items by playing a sound and letting you see how close you are to the missing item. By listening to the sound, you can track down where the missing item is. As you get closer to the source, the sound becomes louder. Sometimes, devices like these emit a radio signal - not an audible sound, but an invisible wave of light, that computers can sense with a radio antenna. As you get closer to the source of the signal, the intensity of the signal increases, just like the sound did. Using the BBC Microbit no-code platform, we will develop a system to communicate a radio signal between two devices to play a game of “hide and seek” where the goal is to locate the source of the invisible signal.
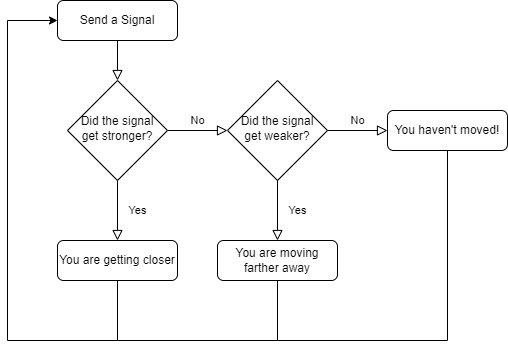
First, students should plan a solution together: what steps are required to play a game of Marco Polo? Without requiring a technical background, some insights can emerge: every so often, the “source” generates a signal that the players can hear (but can’t see); this sound has a direction and intensity that helps the players move closer to the source. As this repeats, if the sound becomes louder, we can infer that we are getting closer.
Let’s make a flow-chart of this idea and lay out the building blocks in the software environment.
We can build each of these steps in the Microbit Makecode environment. We will build this from scratch, but you can import it by clicking the Import button and importing from this URL: https://github.com/billjr99/hide-and-seek. This environment includes a simulator that will run the project without physical hardware, but if you have the devices, they can be downloaded to a physical Microbit by clicking the three dots next to the Download button, and choosing “Connect to Device” from the menu that appears. You’ll need two divices for this project (one to “hide” and one to “seek”).
Getting Started: Sending a Signal
The project opens with two “functions” or slots that we can fill in with behaviors: “on start” and “forever.” The “on start” function will allow us to set up items that we’d like to keep track of during the program, while the “forever” function will dictate what happens over and over. From the flowchart, we can see that everything happens in this “over and over” loop - and is kicked off by sending a signal to our partner. Under the “Radio” section of blocks on the left, there is a “radio send number” behavior that we can drag into the “forever” function. We’re just measuring how loud the signal is: when playing “Marco Polo” the “signal” is to shout the word “Marco,” but in reality, it doesn’t matter what the word is! We’re really listening for the intensity of the sound. So, any number will do here.
In the “on start” section, use the “radio set group” to set what is called the “radio group” - this is like setting the channel on a walkie talkie so that each pair of radios can communicate in isolation. Choose any number here, as it will be the same for both devices.
Finally, if you’re using a real physical Microbit device, using the radio continuously in the “forever” function will drain your batteries very quickly. You can add a “pause” behavior in the “forever” loop to stop in between signals (imagine yelling “Marco” over and over continuously! It’s OK to put a little break in between). I put a 1000 millisecond pause into my loop, so it will send a signal every second. Feel free to adjust this as you like.
Getting Warmer or Colder?
Whenever we receive a signal, we want to ask ourselves whether that signal is “louder” or “softer” than the last time we received it. To do this, we will introduce the concept of “variables.” These are values that we can remember over time. We’re interested in remembering the intensity or “received signal strength indicator” (RSSI) of the last wireless radio signal we received, so we’ll create a variable called lastRSSI. In the “on start” function, add a “set variable” behavior and create this lastRSSI variable. You can give it any starting value that you like, since it will update over time.
We’ll compare this value to the new signal each time we receive one. We’ll set the variable value to the current signal strength as well, so that next time, we can compare that, too. This is like remembering in your mind how loud the “Marco” shout was the last time you heard it, and comparing it to what you’re hearing now. Next time, you’ll compare it to what you just heard, and so on.
You can drag other functions into the canvas; under the “Radio” section, there is a function called “on radio received.” This function will execute any time a new signal is received. It comes with its own variable (known as a “parameter”), called receivedNumber. This is the number that you sent during the “radio send number” behavior. We don’t really need it: it doesn’t matter what the signal was (“Marco” or “Hello” or anything else!), but rather how loud it was!
On our flowchart, we want to ask whether this signal is louder or softer than the last one. The current signal strength can be found in the “received packet: signal strength” behavior under the “Radio” section on the left. Since we’re asking a question about this value, we can use the “if - else” behavior found under the “Logic” section. In the if block, drag the “X > Y” behavior from the “Logic” section and place it inside the diamond shaped space of the if behavior. Inside that, you can place the “received packet: signal strength” value, and the lastRSSI variable.
If the current signal strength is greater than the last one, we’re getting closer! I used the “show arrow: North” behavior to show this on the LED display, and dragged that inside the if block. In the else block, we know that the signal is not stronger, so it is either weaker or the same. I used the “show arrow: South” behavior to show this, and dragged it into the else portion of the if behavior.
Finally, after the if block, I added a “set lastRSSI to” behavior. We want to set this variable to the current signal strength. We checked this value just a moment ago, and itw as called “received packet: signal strength.” Let’s set lastRSSI to the received packet signal strength.
And that’s it! If you run this, you should see arrows on the two devices showing if they are getting “warmer” or “colder.” With physical devices, you can walk around to see this in action. On the simulator, there is a square “wave” in the top right simulating the radio activity. You can click and drag left or right to increase or decrease the signal strength, and you should see the arrows update accordingly.
Optional: What if the Signal Strength Hasn’t Changed?
The if behavior has a cousin called the “if - else if - else” block. This allows us to ask multiple questions in the same if statement. Previously, we asked if the signal was stronger than the previous one, and showed a “North” arrow if it was, and a “South” arrow if it was not. But what if the signals are equal? This if statement can ask if the new signal strength is stronger, and otherwise (“else”) ask if the new signal strength is weaker. In the final “else,” we now know that the signal is neither stronger nor weaker, and must be the same. I displayed a heart icon on the LED display if this was the case, indicating that we’re not getting closer or farther from the target right now.
Optional: Seeing the Signal Strength
You may have seen the concept of RSSI when you choose a wireless network on your phone or computer. Often, you’ll see the classic “bars” of signal strength, which is really just a visualization of the signal strength number that we’ve been comparing in this program. To a computer, everything is a number, and sometimes, you might see the actual number on your computer or on your phone. It’s measured in decibels, and these radio signals are often pretty weak (likely a numeric value between -40 and -100). It’s still amazing to me that these faint invisible signals allow us to carry data over the internet, send music to our radios, and even communicate wirelessly around the world. Even right now, there could be dozens or hundreds (or more!) waves of invisible light energy bouncing around you carrying wireless data by radio signal.
Let’s add a variable to store this value each time we receive a signal. Based on what we’ve done already, where should we create this variable, and when should we update it?
Once you’ve added this variable to the “on start” function and set its value each time the “on radio received” function executes, you can drag another function to the canvas called “on button pressed” that we will use to show the current signal strength value whenever the A button is pressed. Its behavior is just a single step: show the currentRSSI variable value.
Optional: Setting Multiple Radio Groups
Finally, if you’d like a whole class to use this at once, it is helpful to put each pair of radios into a unique radio group, so that two people can play together without “hearing” and displaying the signals from everyone else’s device. To do this, you can change the number in the “radio set group” behavior to a unique value for each pair of devices. Although that change alone is sufficient, I created a variable called radioNumber to do this, just for fun. I had my radio send the radio group number in the “forever” loop, and added an if statement in the “on radio received” function to check that the receivedNumber parameter was equal to the radioNumber variable before checking the signal strength - almost like a little passcode to help ensure that the radio is hearing the correct partner.
The Finished Project
Here’s my finished product, available at https://www.billmongan.com/hide-and-seek/:

Extension: How Far Away?
The signal strength will vary based on the distance between the two devices, although walls and other items in the room will also cause the signal strength to change. Roughly speaking, though, the signal strength can be thought of as a proxy to the distance, just like the number of “bars” of signal strength is a rough estimate of how far you are from the cell phone tower or wireless access point (although other artifacts, such as being indoors, will also lower the signal strength and make it appear that you are even farther away).
Older or more experienced students could display the RSSI at a few known distances from their partner, and fit a linear function to those points to get a rough estimate of how changes in the signal strength correspond to distance. Admittedly, the relationship is not truly linear and there are other variables involved, but it is a reasonable estimate using things we can measure.
Add a variable to the “on radio received” function that calculates the distance using the linear equation on the signal strength. Change the “on button pressed” function to display this value instead!