Speed Pitch with the Microbit
Secondary Computing (Microbit)
In this activity, we use the radio and light sensor of the Micro:bit to detect an object passing each of two Micro:bits, to measure the time between passing each, and to compute the speed at which the object moved.
Activity
The Micro:bit comes with a radio that uses Bluetooth to communicate between different Micro:bit devices. The Micro:bit can also tell time, and measure the amount of light it sees in the room. Using all of these together, we can check when an object passes our Micro:bit, communicate that to another Micro:bit, and then measure the time elapsed until the object passes the second Micro:bit to figure out how fast that object was going.
Getting Started: Planning the Solution
Let’s get a sense of the workflow by physically measuring the speed of an object. In a group of 3, ball up a piece of paper. Have one person throw the paper to the second person, while the third person times how long it takes (in seconds) for the paper to get there, and measures the distance between the two people in feet. The distance divided by the time is the speed, in feet per second. You can convert this to miles per hour by multiplying the speed in feet per second by 0.681818 (more advanced students can convert feet per mile to miles per hour by dividing by 5280 feet per mile and multiplying by 3600 seconds per hour). Rotate roles and repeat this three times.
Now, in your group, draw a diagram that describes each step you completed. You had to note the time when the object left the first person, and the time that it arrived at the second person, as well as the distance between them.
We’re going to use Micro:bit devices to make these same measurements. To decide the time that the object passes each Micro:bit, we’ll measure how much light the Micro:bit can see. When it drops by a certain amount, we’ll note the time and say that the device passed us. When it reaches the second device, note the time there as well. Subtract these two times, and you have the elapsed time that you measured earlier by hand. Draw out this workflow as a flow-chart.
Your Micro:bit flowchart will look something like this:
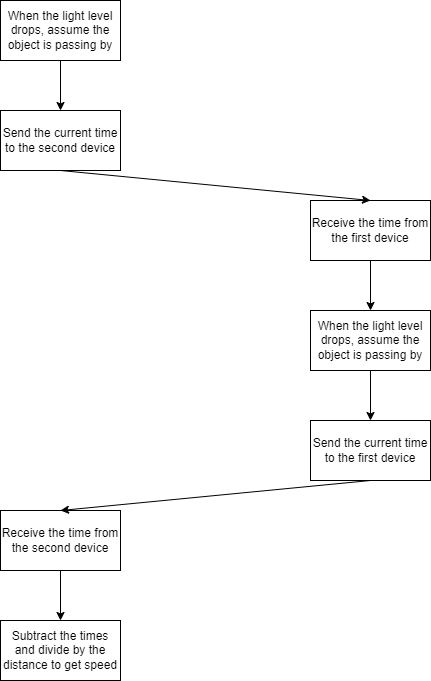
This flowchart establishes a protocol - the order in which the two Micro:bit devices will communicate with each other, to help ensure that we know which one is the "first" partner and which is the "second" partner.
On Start
We’ll need a few variables to keep track of throughout the program. These include:
- time1: The time that the object passed the first device in milliseconds (because that’s how the Micro:bit tells time)
- time2: The time that the object passed the second device in milliseconds
- timediff: The difference between these two times in seconds
- distance: The distance in feet between the two devices, which you can measure beforehand
- speed: The speed of the object, computed as the distance divided by the time
- current_light: The current brightness in the room
- prior_light: The brightness in the room the last time we checked (so we can compare the difference)
I also created a few variables to help me keep track of what was going on in the program. When there are two (or more!) Micro:bits, it can be tricky to know wich Micro:bit has seen what information, so I created a few variables to keep track of where I am in the flowchart:
- sender: I set this to 1 if I am the first Micro:bit to see an object fly by
- receiver: I set this to 1 if I am not the sender - perhaps I could have just set sender to 0, but I decided this was more explicit and easier for me to read and understand
- initialized: I will instruct the two Micro:bit devices to send a message to one another when they first boot up - this variable becomes 1 when I know I have two Micro:bit devices talking to each other
I set all these variables to 0, except for the distance, which I set to the distance between the Micro:bit devices in feet.
Starting the Radio
From the radio tab, add the radio set group step to the on start block, and set it to a number. This number should be the same as the one your partner is using, but different from the number that the other groups are using. This sets the frequency of the radio - kind of like tuning to your favorite radio station, so that you don’t interfere with one another. Give each group a number: 1, 2, 3, and so on, and have the two partners in each group set their radio group to their group number.
Finally, let’s send a message to the other radio. Add the radio send value X = Y step. We can label two items in this step: a message title, and a value. For the title, let’s call the message init. For the value, we can send 0. This is just a throwaway message to say "hello" to the other device.
The Forever Loop
We want our Micro:bit to measure the brightness of the room, and compare it to the prior brightness. In the forever block, set the current_light variable to the light level from the input tab.
If the current_light is much smaller than prior_light, then it became darker (perhaps because the object passed through its field of vision). We can do this by checking if current_light - prior_light < -10.
If so, one of two things has happened. Either we are the sender, and so we are the first Micro:bit that the object passed, or we are the second device on the other side. Since we’re using the same program for both Micro:bit devices, we actually don’t know which! Using the variables you set up in the on start block, what variable would still have the value 0 if it was the first device? It’s the time1 variable!
So, if time1 is equal to 0, let’s set time1 to millis (ms) (which is the current time in milliseconds, found in the Control tab). Let’s also set sender to 1 and receiver to 0, so we know which is which.
The second device doesn’t actually know it yet, but it will be the receiver. We’ll send it a message so that it knows the object is coming! Add a radio send value X = Y step. Let’s call the title start and the value the time1 variable value. We’ll tell the Micro:bit what to do when it receives this message later, but you can probably guess what it is! We’re going to set receiver to 1. We’ll do that when we’re finished with this block, so no need to think about this just yet.
But first, remember that we said that one of two things has happened when the light became dark. The first was that we are the sender. The second is that we are the receiver, and we’re seeing the object pass when the light became dark. Add an else if block to your if block to check for this. This time, the time2 variable will have the value 0 if we haven’t seen it yet, and the receiver variable will have been set to 1 thanks to the message we sent a moment ago. This if will look like this: if time2 == 0 and receiver == 0. If so, set the time2 variable to millis (ms), and send a message back to the sender using the radio send value X = Y step. This time, we’ll set the title to end and the value to the time2 variable value.
Finally, set the prior_light variable to the value of the current_light variable, so that we can compare next time through the forever block.
Optional: Using the Buttons instead of the Light Sensor
If you have difficulty using the light sensor accurately, you can move the logic inside the light check into a on button A pressed block, and press the button on each Micro:bit when the object passes by.
On Radio Message Received
If you were following closely, you might recall that there are three types of radio message titles that we send in this program: init when the program starts, start when the sender sees the object, and end when the receiver sees the object. In a on radio received X = Y block, we’ll check for all of these with an if/else if statement.
If the message name is init
The init message was just a throwaway "hello" message. We’ll set a variable called initialized to 1. This was just for fun to test out the radios.
If the message name is start
If we get a start message, it means that our sending partner has seen an object. Set the time1 variable to the message value (since our partner sent us the time on their clock via the time1 variable). We also know that we’re the receiver, so set receiver to 1 and sender to 0.
If the message name is end
Similarly, if we are the sender, then we will receive this message from the receiver when the object passes it. Set time2 to the message value. Now that we have both time values, we can compute the speed! Set the speed variable to the speed of the object. To do this, divide the difference of time2 and time1 by 1000 to convert from milliseconds to seconds. Divide the distance by this time, and you’ll have the speed in feet per second!
If you’d like to get the value in miles per hour, multiply this speed by 0.681818 like we did before.
Finally, show this number on the LED display using the show number step.
Are the Clocks in Sync?
In this block, we set time1 and time2 to the message received value, which sets the time to whatever time was on the other Micro:bit. If those clocks aren’t perfectly in sync, we might get some error in our measurement as a result of this. After testing out the program a few times, try changing the set time to value blocks to instead set time1 and time2 to millis (ms), so that we ignore the time sent by our partner and check on our own clock each time. Do your speed measurements become any more accurate? Check them with a stopwatch before and after making this change, and calculate the speed by hand or using a calculator.
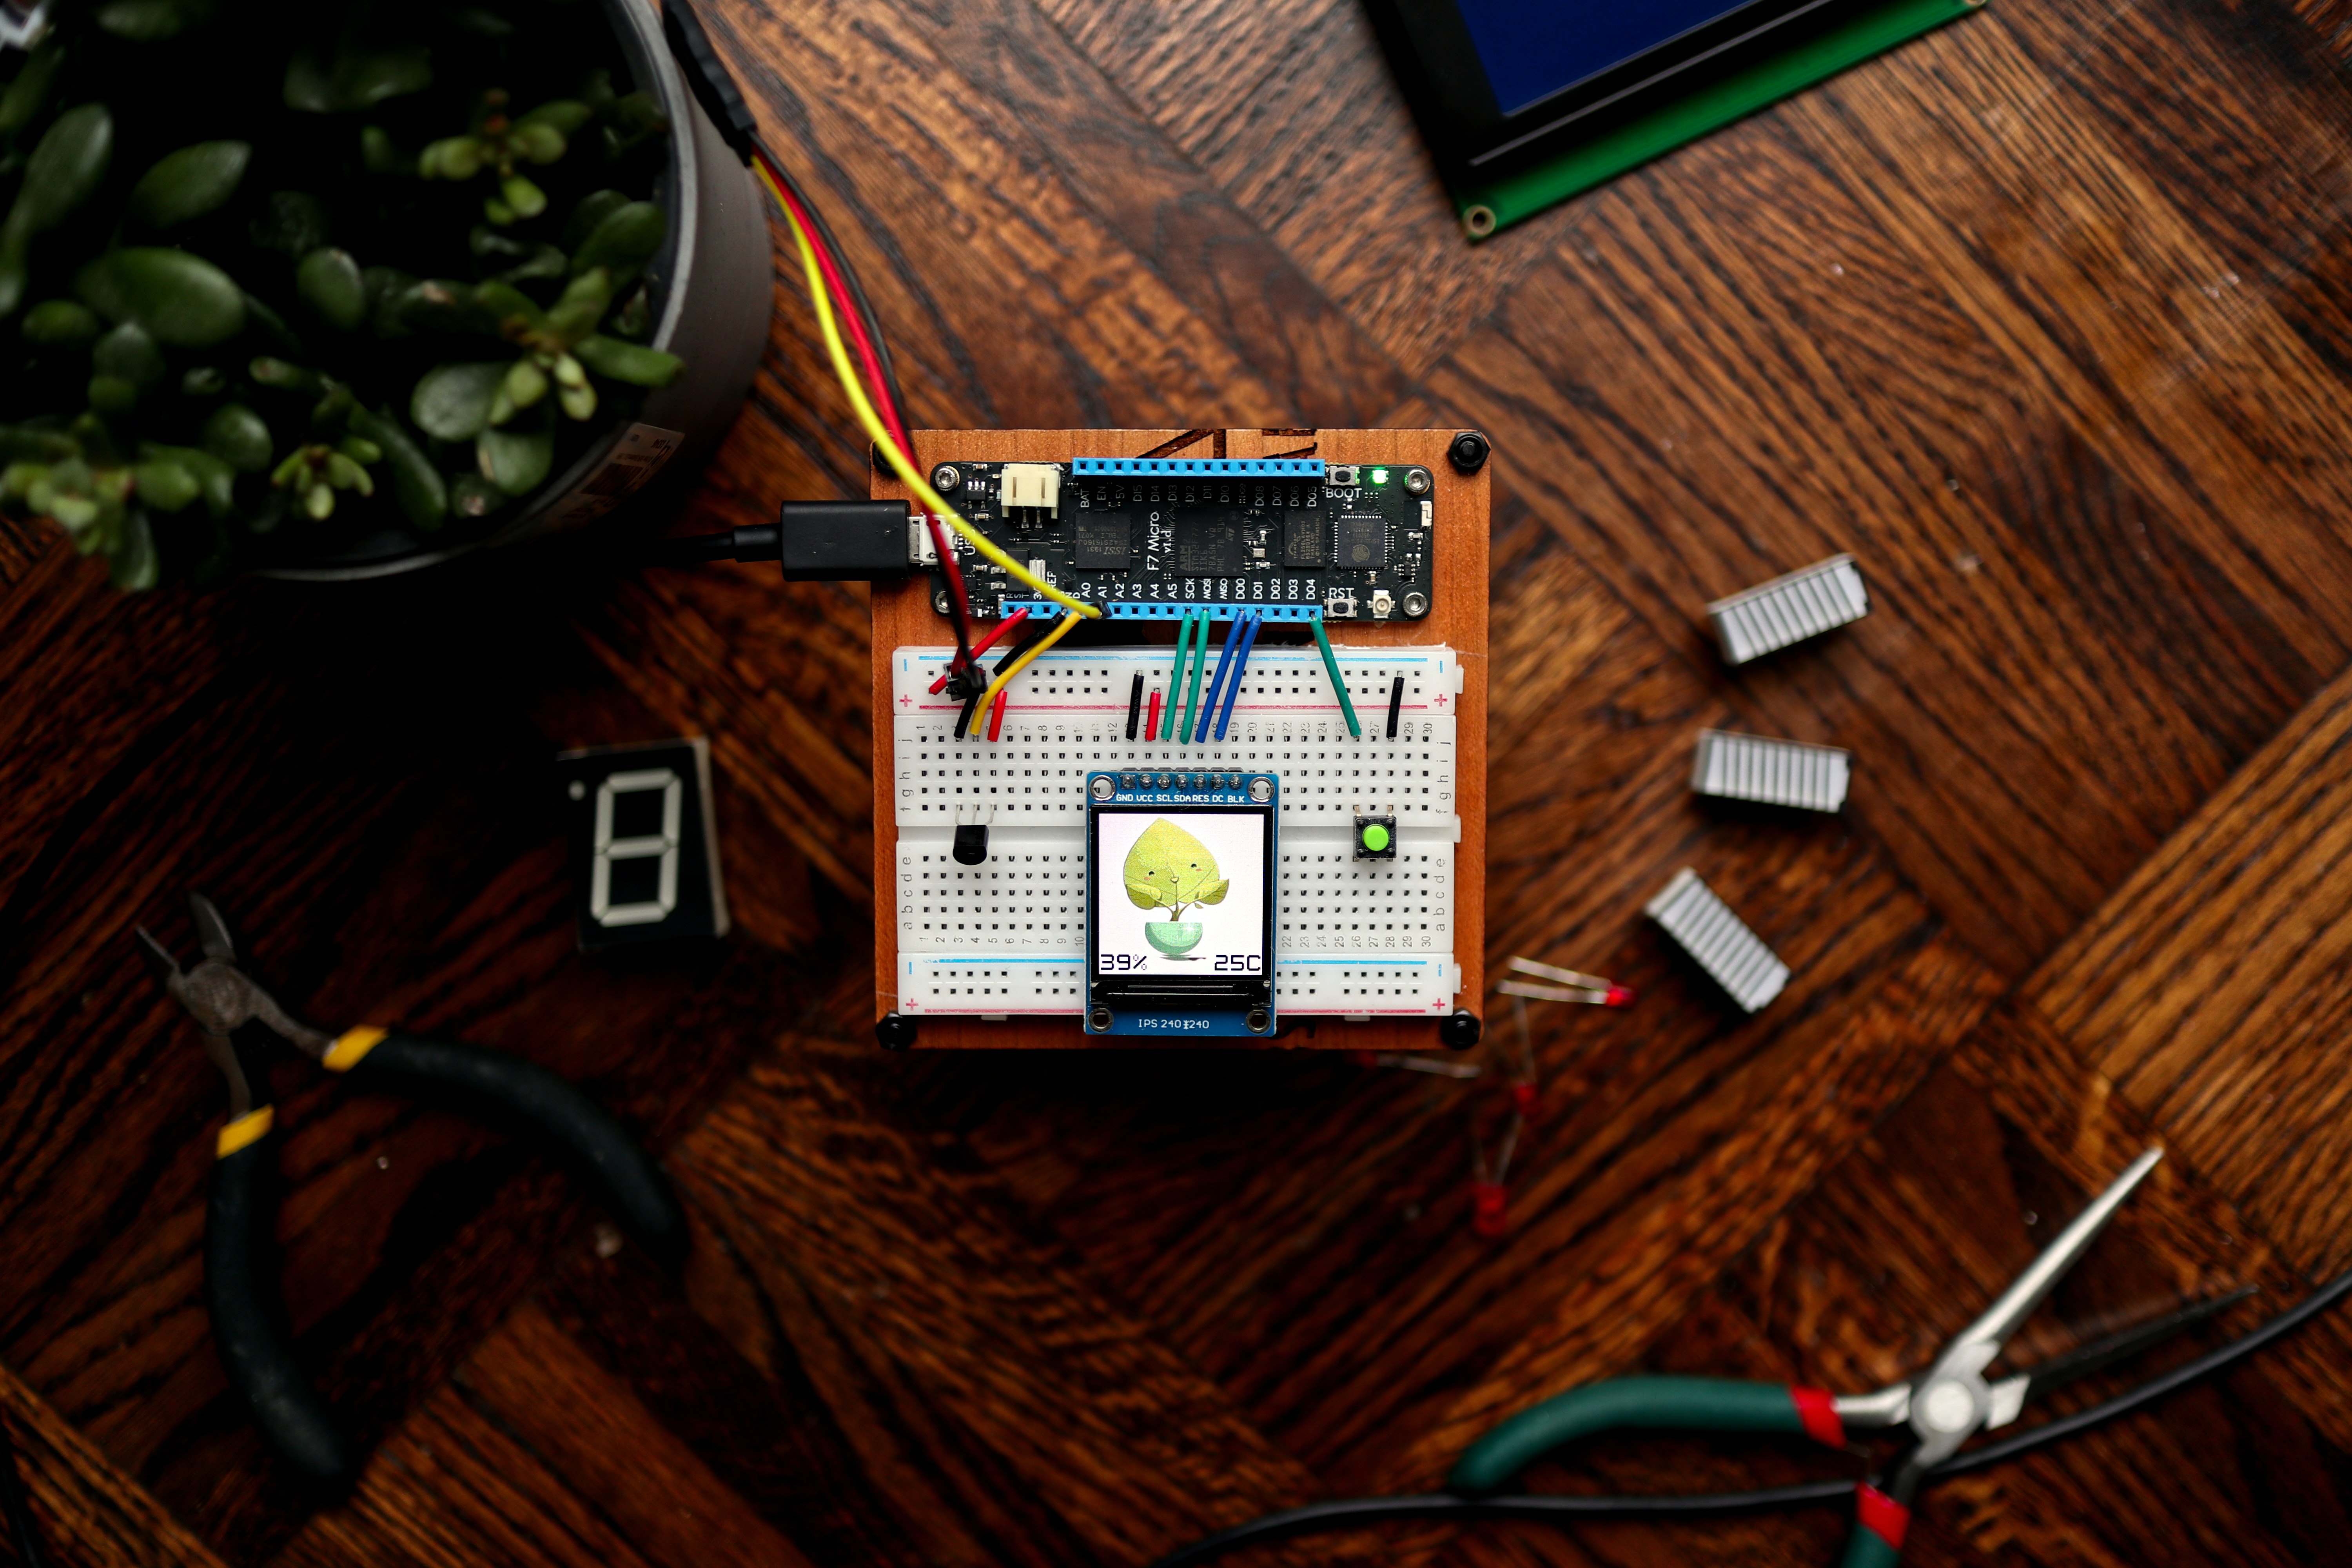
The Finished Project
Here’s my finished product, available at https://www.billmongan.com/speed-pitch/:
