Timing Thunder with the Microbit
Elementary Science (Microbit)
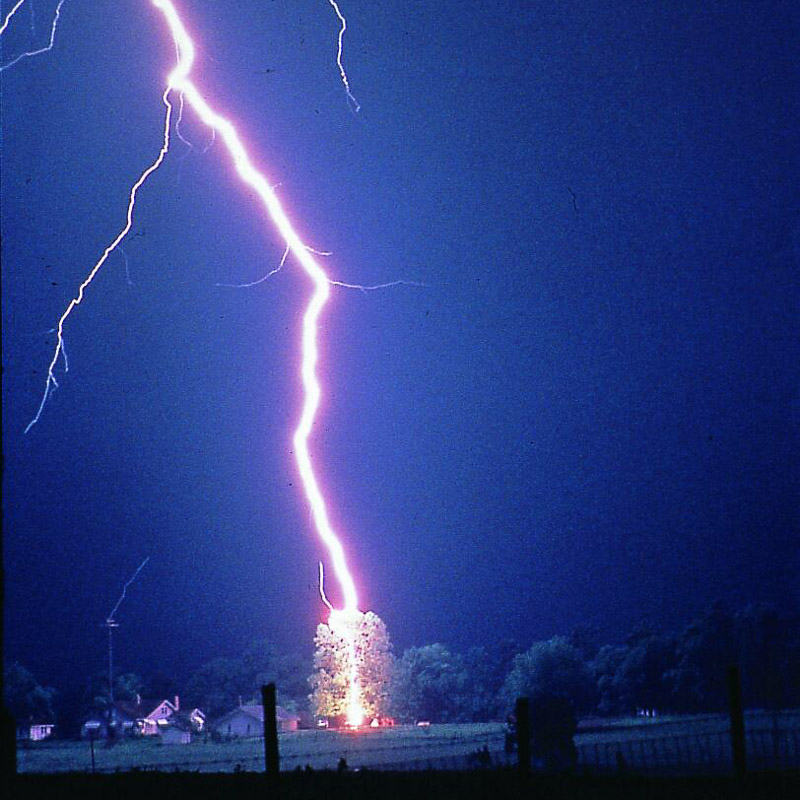
In this activity, we will measure the time between lightning and thunder to estimate the distance of a thunderstorm. Remember that if you can hear thunder, you can be struck by lightning, so this is not for outdoor use during a storm!
Activity
Light travels much faster than sound, and that’s why you see lightning before hearing the thunder associated with it. The farther away we are from the lightning, the longer it will take to hear the thunder. We can estimate how far away that lightning was by measuring how long it took to hear the sound.
On Start
We need to keep track of three things: the time that we saw the lightning, the time that we heard the thunder, and the difference between the two times. Create these variables and set them to 0.
Tracking the Lightning Time
When we see lightning (we can pretend in the classroom!), we’ll hit the A button on the Micro:bit. When this happens, we’ll set the light_time variable to millis (ms), which is the current time in milliseconds (and can be found in the Control tab).
Tracking the Thunder Time
When we hear the thunder, press the B button. When the B button is pressed, we’ll set sound_time to millis (ms). We can set time_delta to sound_time minus light_time. To convert this from milliseconds to seconds, let’s divide time_delta by 1000. Finally, a rule of thumb is that every 5 seconds between seeing lightning and hearing thunder is one mile of distance, so let’s divide time_delta by 5 to get the distance in miles. Show this number on the screen.
Finishing Touches
We can make a few improvements to this. If we press B by mistake before pressing A, we shouldn’t show anything on the screen. How would we know that the A button was never pressed? It’s because light_time would still be 0. Using an if statement, we can check in the on button B pressed block that light_time is greater than 0 before performing the steps inside.
Similarly, you can modify the on button A pressed</block> to ensure that light_time is 0 before setting it. That way, if you press A twice in a row, it doesn’t lose the original time.
When should you reset light_time back to 0 so you can start again? It’s at the end of the B button steps, after you’ve calculated the distance between one lightning and one thunder! Set light_time to 0 at the end of on button B pressed.
Enhancements for v2 Micro:bit
If you have a v2 Micro:bit, you can check the sound level in the room to hear thunder automatically (you can produce your own sounds to test in the classroom, of course!). Instead of pressing the A and B buttons, you can add an event block called on loud sound. The code from pressing the B button can go here.
In a forever block, you can set a variable to light level, and use an if statement that asks if the light level is greater than a certain threshold out of 255 (I used 140). If so, you can follow the same behavior as you did when you pressed the A button previously! Again, you can use a flashlight or lamp, or the room light switch, instead of actual lightning, for testing purposes.
The Finished Project
Here’s my finished product, available at https://www.billmongan.com/thunder-and-lightning-v1/:

Micro:bit v2 Extension
A second version of this project that uses v2 sensors that measure sound volume and light levels (and thus requires a v2 Micro:bit) is available at https://www.billmongan.com/thunder-and-lightning-v2/:

Follow-Up
How could you decide what sound and light level is appropriate for this program? It isn’t safe to try this with real lightning outside, but what measurements could we take and what values could we display?